

Last Updated: 01 August, 2023
MySQL is an open-source relational database management system (RDBMS) that uses Structured Query Language (SQL) for managing data.
It is widely used by companies of all sizes, from small startups to large enterprises, and is an important part of many web-based applications and services.
In this tutorial, we will go over how to download the MySQL 8 installation file, install MySQL Community Server and MySQL Workbench.
In order to install MySQL in the Windows Operating System, we need to follow the below-mentioned steps one by one.
Step 1: First of all, download the MySQL Community Server software for Windows Operating System from the official website of MySQL. The link is given below.
Link: Download MySQL Community Server
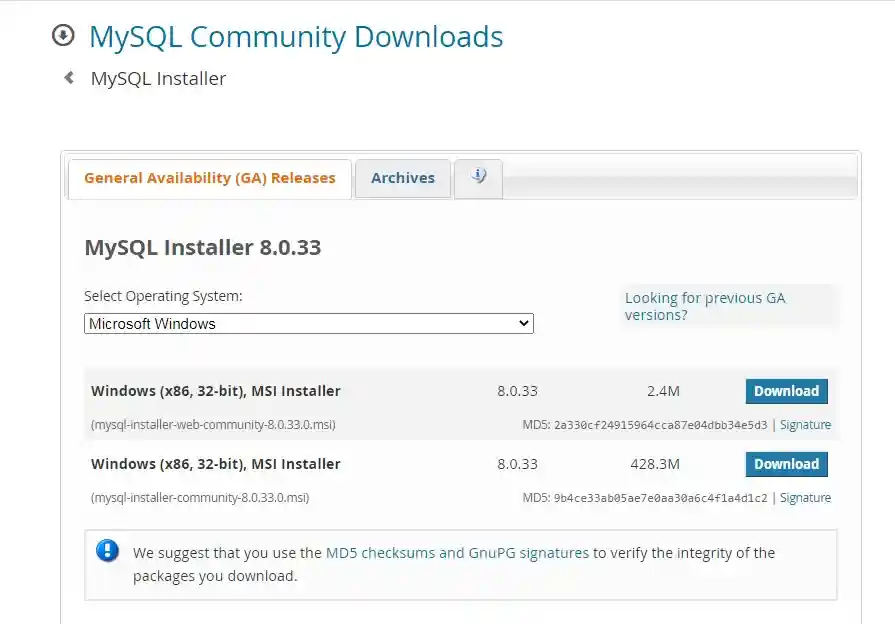
After downloading successfully, we will get MySQL Installer as given below.

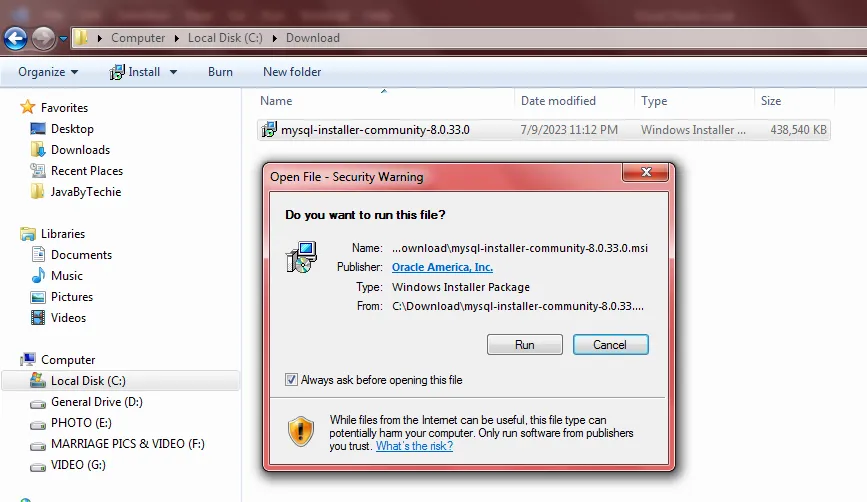
Step 2: To start the installation, we have to double-click on the MySQL installer.
After double-clicking, one small window will appear on the screen as given below; here we need to click on the Run button.
After completing the process, the MySQL Installer window will appear on the screen, and we have to select which type of installation we have to do according to our requirements.

After completing the process, the MySQL Installer window will appear on the screen, and we have to select which type of installation we have to do based on our requirements.
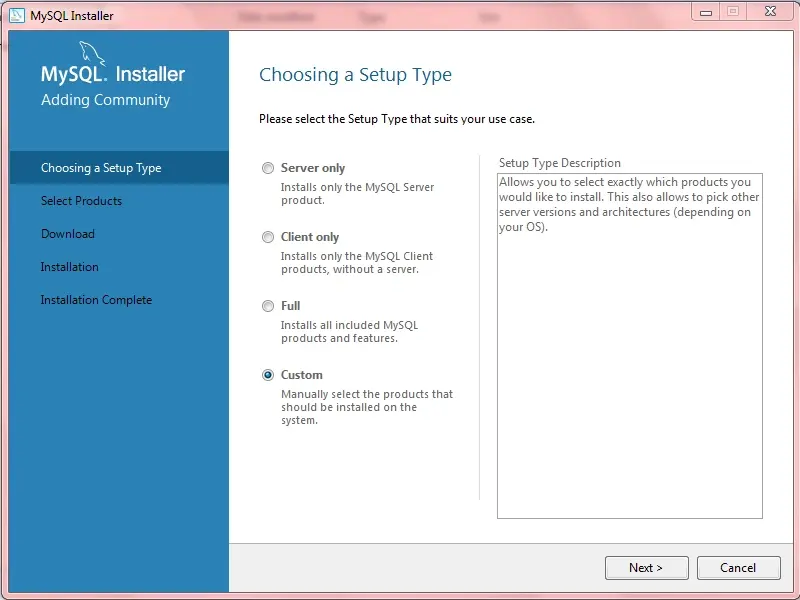
Step 3: For the demonstration, we have selected a custom type of installation. In the custom type of installation, we select required products from the Available Products and add into the Products To Be Installed manually.
After Product selection, click on the Next button.
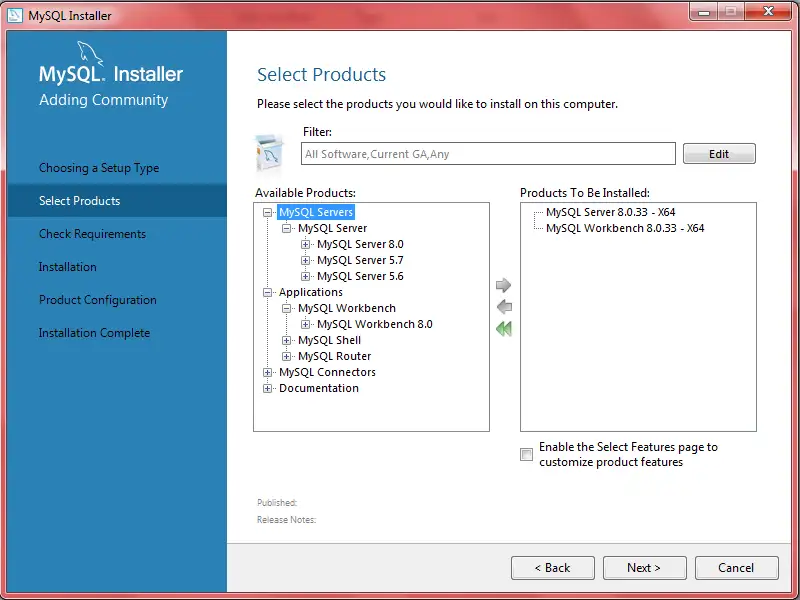
Step 4: Here, we have selected MySQL Server and MySQL Workbench and clicked on the Next button.
After clicking on the Next button, the Check Requirements window will appear on the screen as given below.
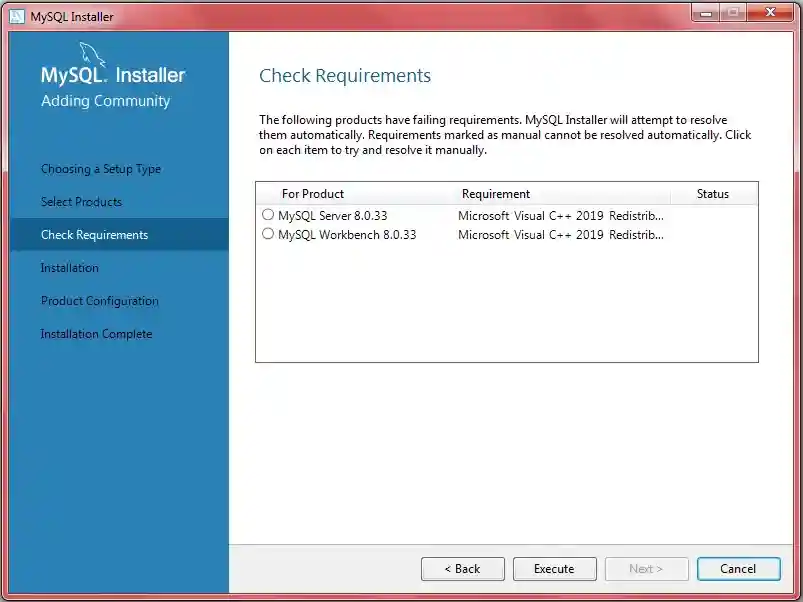
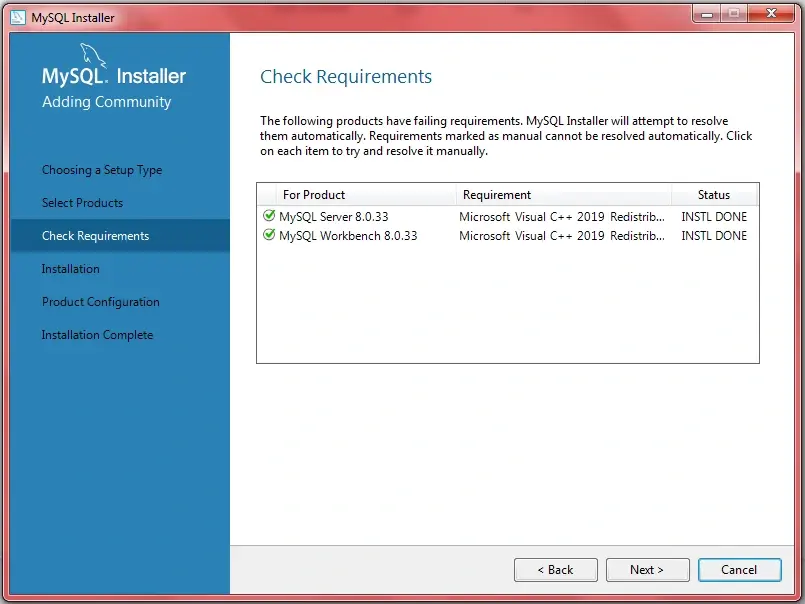
Once the check requirements are completed, the Next button will be enabled, as given in the below screen.
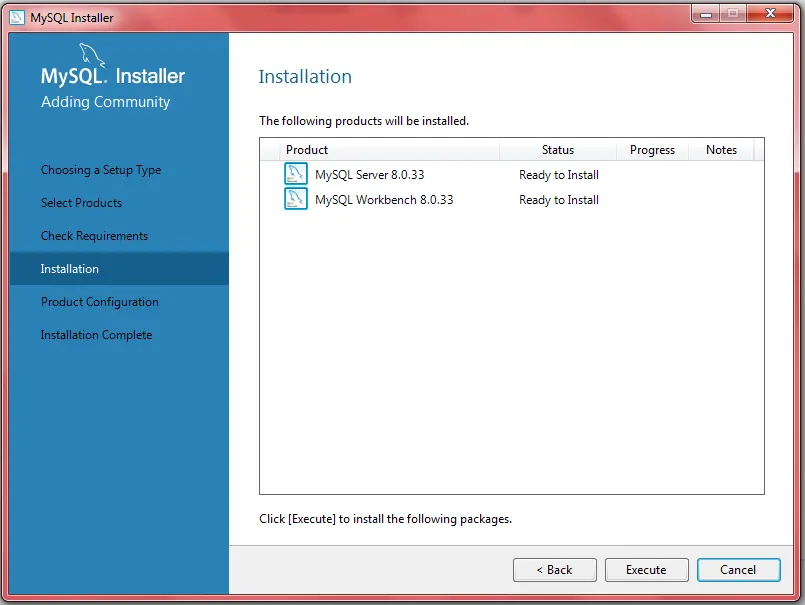
Step 5: Click on the Next button. The installation window will appear on the screen as given below.
Now, click on the Execute button to start the installation of select products as given below.
After successful installation, the status will change to Complete and a Next button will appear on the screen.
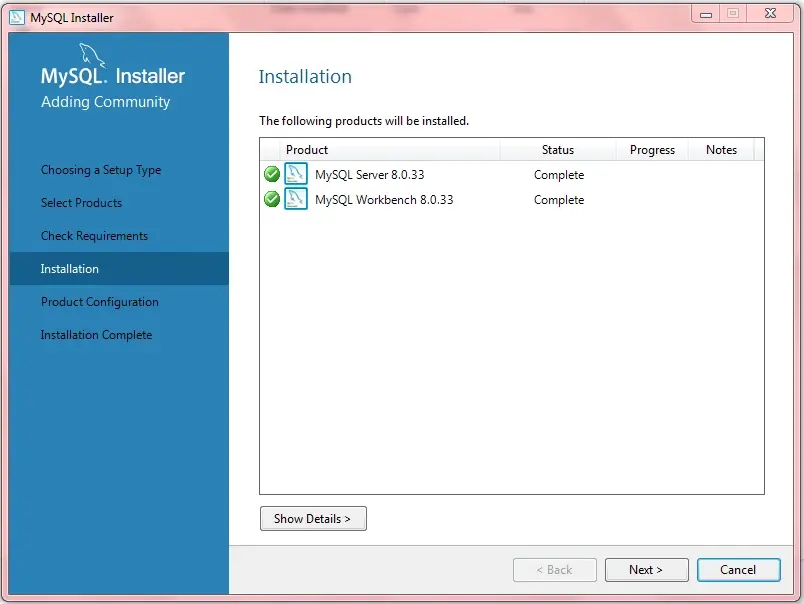
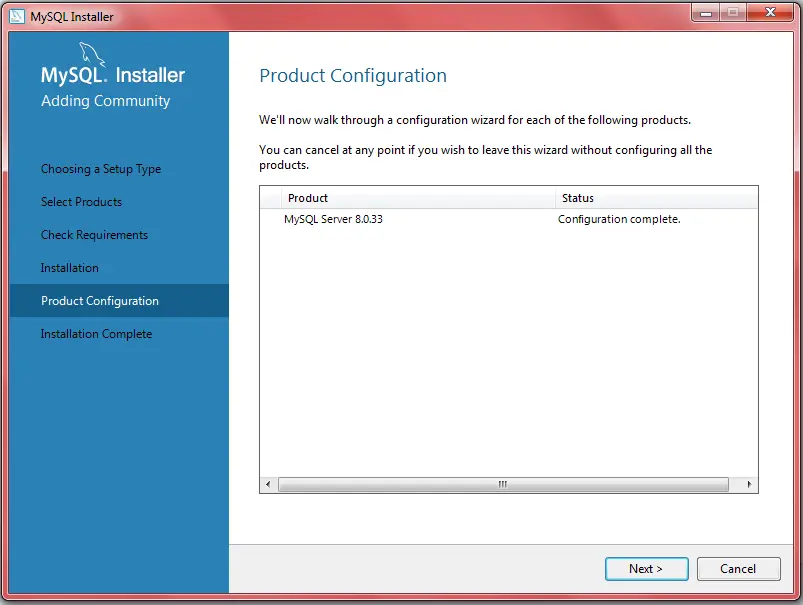
Step 6: Once installation is complete, we will click on the Next button, and then the product configuration window will appear on the screen as given below.
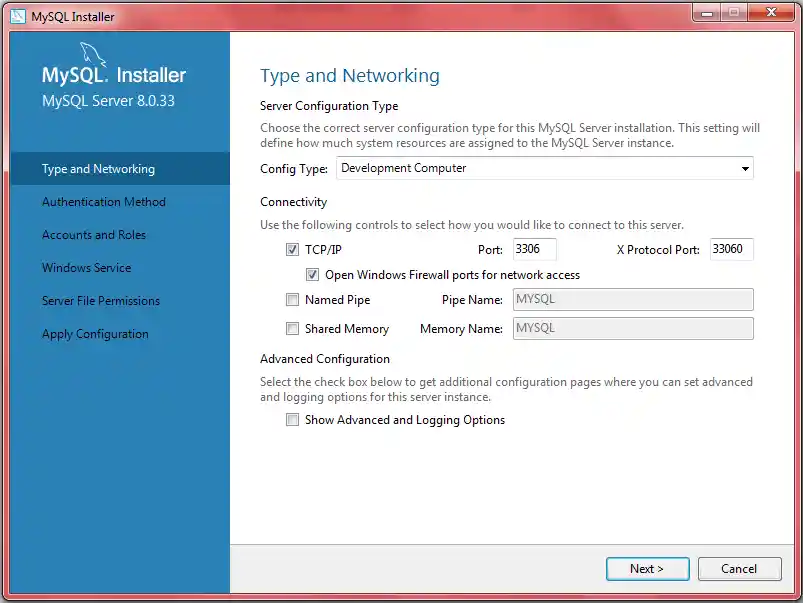
Step 7: After clicking on the Next button, the Type and Networking window will appear on the screen. Here we do server configuration, such as changing the port number, etc. as given below.
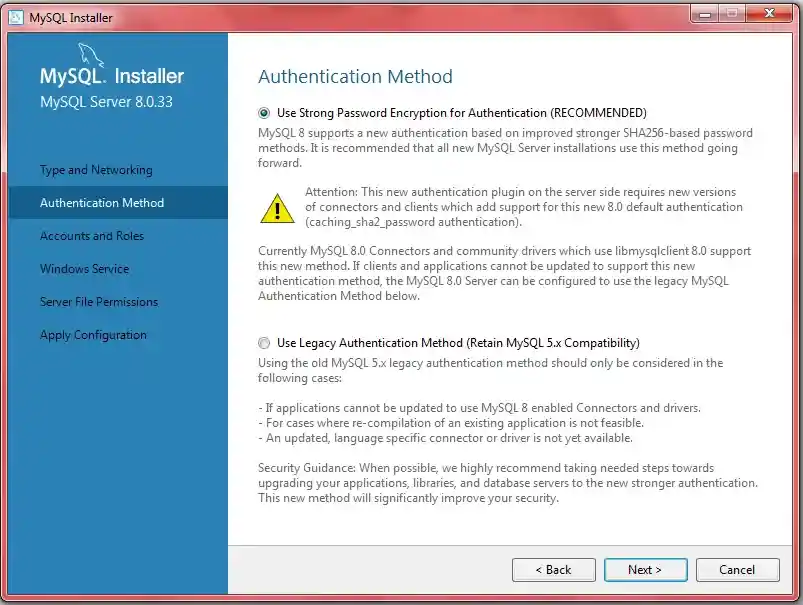
Step 8: The Authentication Method window will appear on the screen as given below. Click on the Next button and proceed.
Step 9: The Accounts and Roles window will appear on the screen. Here, we will enter the MySQL root password, and we can also add new users.
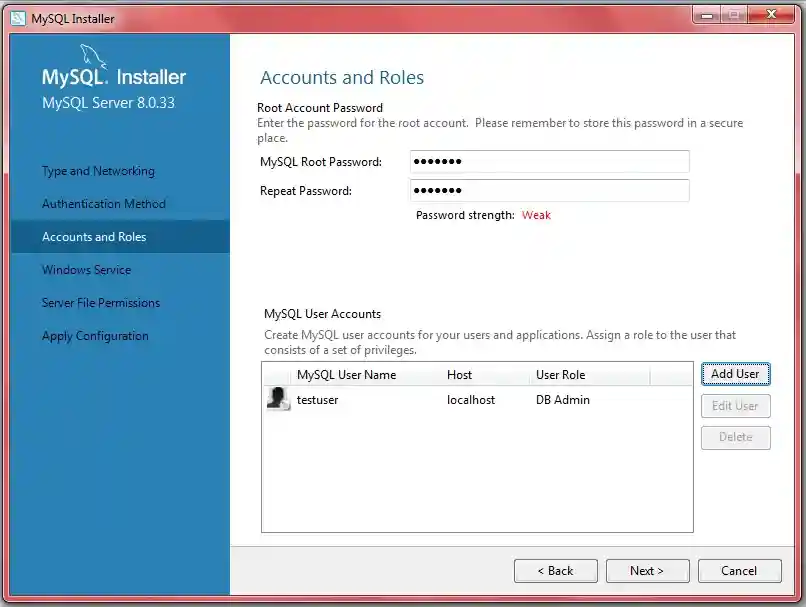
For adding a new user, we have to click on the Add User button, specify the user name, password, and database role, and click on the Ok button.
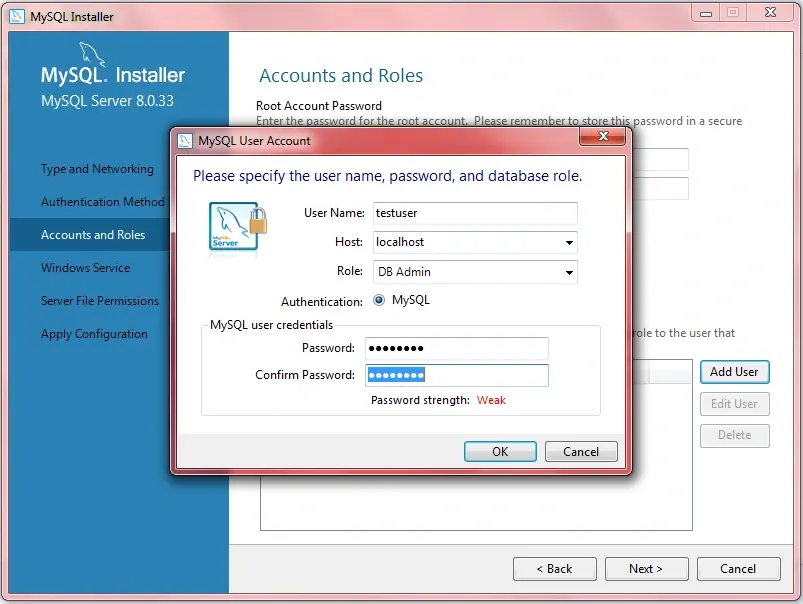
Here, we have added a new user named 'testuser' and given him the 'DB Admin' role.
Click on the Next button and proceed.
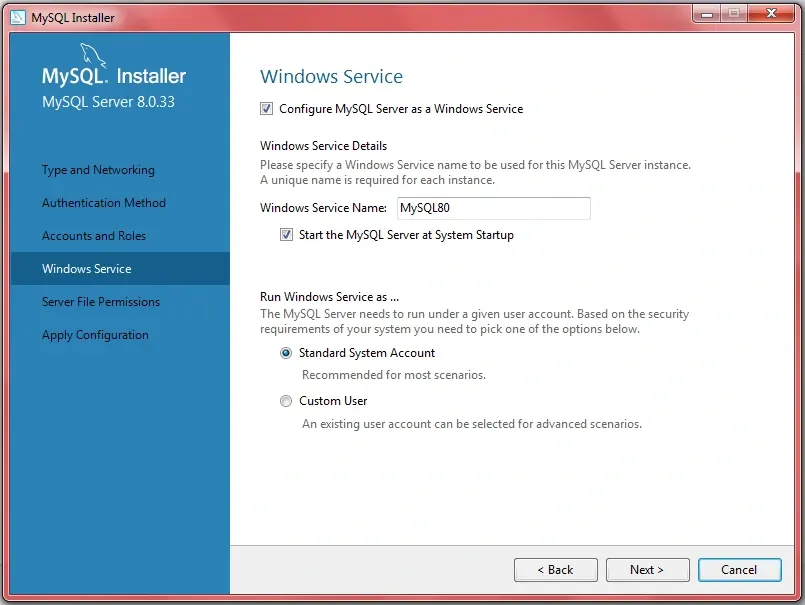
Step 10: Next, the Windows Service window will appear on the screen as given below; just click on the Next button and proceed.
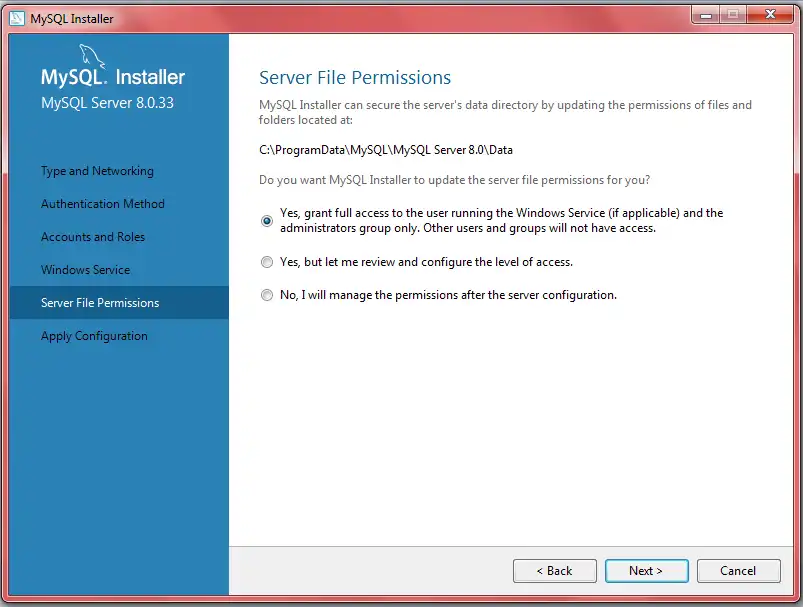
Step 11: Next, the Server File Permissions window will appear on the screen as given below; just click on the Next button and proceed.
Step 12: Next, the Apply Configuration window will appear on the screen as given below.
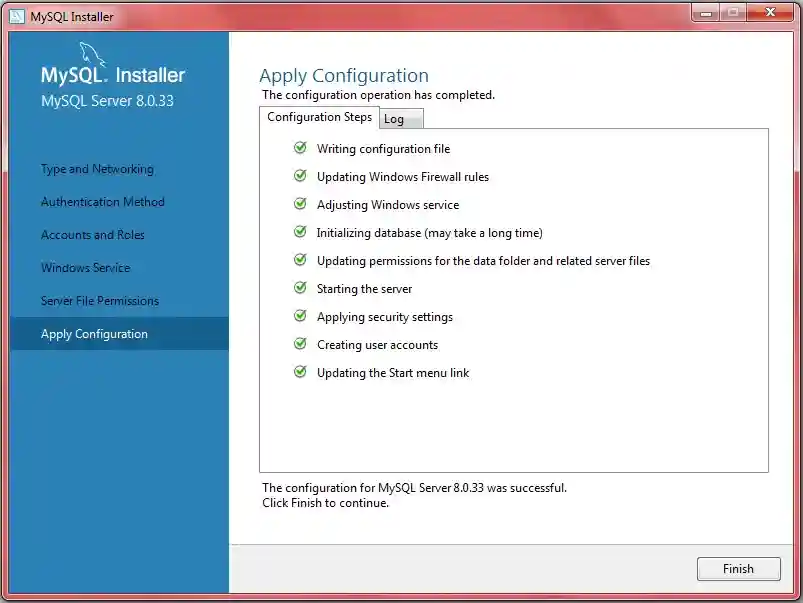
After finishing auto configuration; just click on the Finish button.
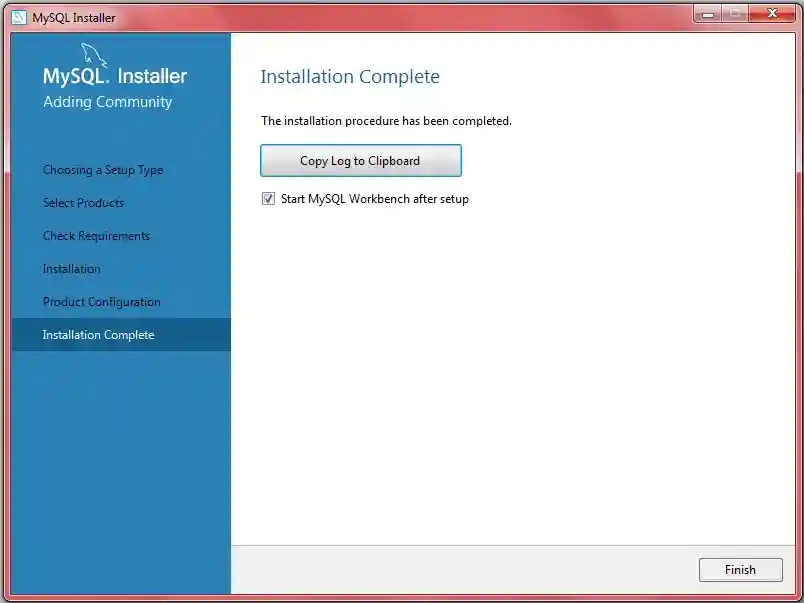
After completing the installation, we will click on the Finish button.
To test and run MySQL, we will open MySQL Command Line Clint and run the MySQL commands.

We can also test and run MySQL commands in the MySQL Workbench.

That's all, guys. I hope this MySQL article is helpful for you.
Happy Learning... 😀
feedback@javabytechie.com